A delicious dairy-free treat—this homemade high-protein salted caramel Ninja Creami recipe is a healthier alternative to traditional ice cream made with simple ingredients like almond milk, coconut milk, medjool dates, and vanilla protein powder. Topped with the easiest no-cook caramel sauce, it’s ultra decadent but designed for you to eat the whole pint!
Sun’s out, temps are up, and my Ninja Creami is back to being in daily use. Which called for some fun new recipes to add to the rotation (so I don’t just make the same ol’ chocolate blend every single day, which I am very guilty of), and an ice cream classic like salted caramel seemed like the perfect place to start. It’s one of the most decadent non-chocolate flavors in my opinion—that salty sweet contrast just makes it impossible not to finish the pint. And the easy no-cook caramel sauce we got drizzling on top will definitely take it up a whole new irresistible notch.

Perfect Dairy-Free Salted Caramel Ice Cream in The Ninja Creami
You will need a blender, 6 healthy-ish ingredients, a Ninja Creami pint container, and the patience to wait 8 hours for the most delicious salted caramel protein ice cream. (And don’t worry, I’ll share an option to make it without the Ninja Creami machine later in this post too!)
High-Protein Vegan Ice Cream Ingredients
- Almond milk. This can honestly be swapped for almost any type of milk, dairy or not, that you want to use. Cashew or almond is what I typically choose, or a light/carton variety of coconut milk.
- Full-fat coconut milk. From a can, but shaken. You don’t need just the cream. You could also swap in greek or coconut yogurt for some of the milk if you want more of a froyo flavor and a slightly higher protein content.
- Vanilla protein powder. Everyone has their favorite, but THIS is my favorite plant-based or THIS is my favorite animal based. Or if you want to use unsweetened/unflavored, add more vanilla extract to round out the caramel flavor profile.
- Medjool dates. Where all the natural CARAMEL flavor comes from. And the only sweetener you need in this recipe, but due to their not creamy nature you will need to blend the ice cream base before freezing.
- Vanilla and salt. Two caramel essentials. Vanilla paste or vanilla bean powder would be extra delicious here!

Step-By-Step Instructions For Making The Creami
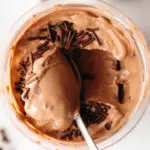
- Step 1: Blend the ice cream base. With dates in the mix, make sure you do this on high speed until it’s perfect smooth. The dates will also add some nice thickness that makes for extra creamy ice cream.
- Step 2: Freeze overnight. Although the overnight part is negotiable, you need at least 8 hours so you can make it early in the a.m. and have ice cream after dinner. That’s what I usually do.
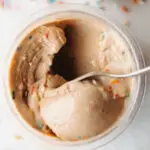
- Step 3: Process in the Ninja Creami. My go-to method is one round on “lite ice cream” and then one or two rounds on “re-spin” with a splash more almond milk as needed. If you want to add any mix-ins, they can be added on the second “re-spin” or add an addition “mix-in” cycle to the end.
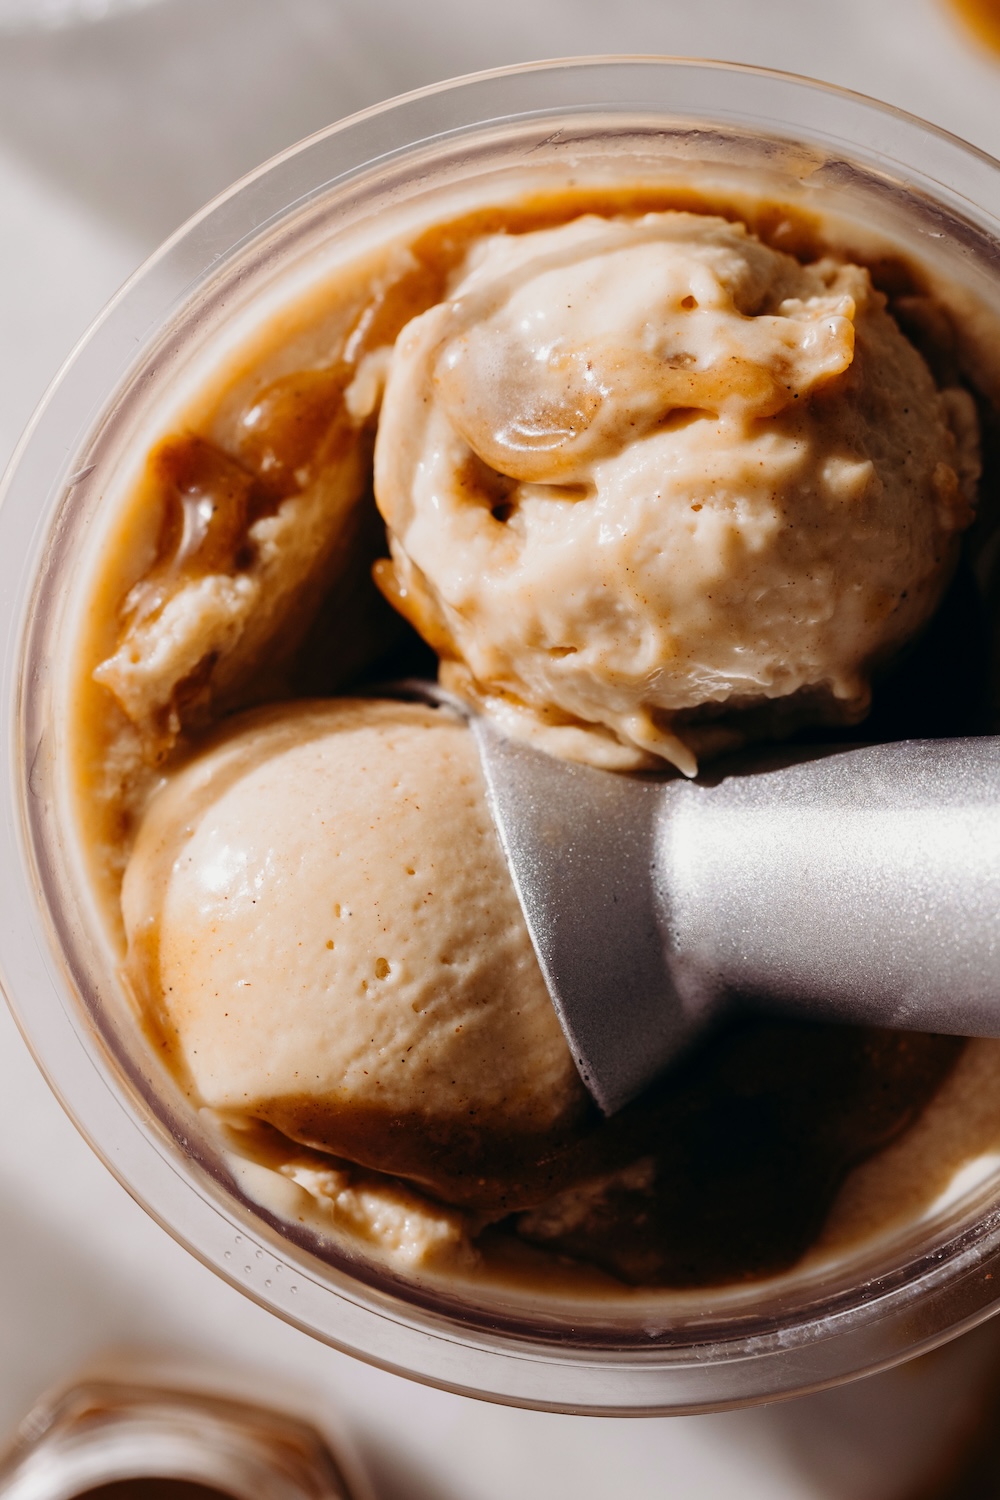
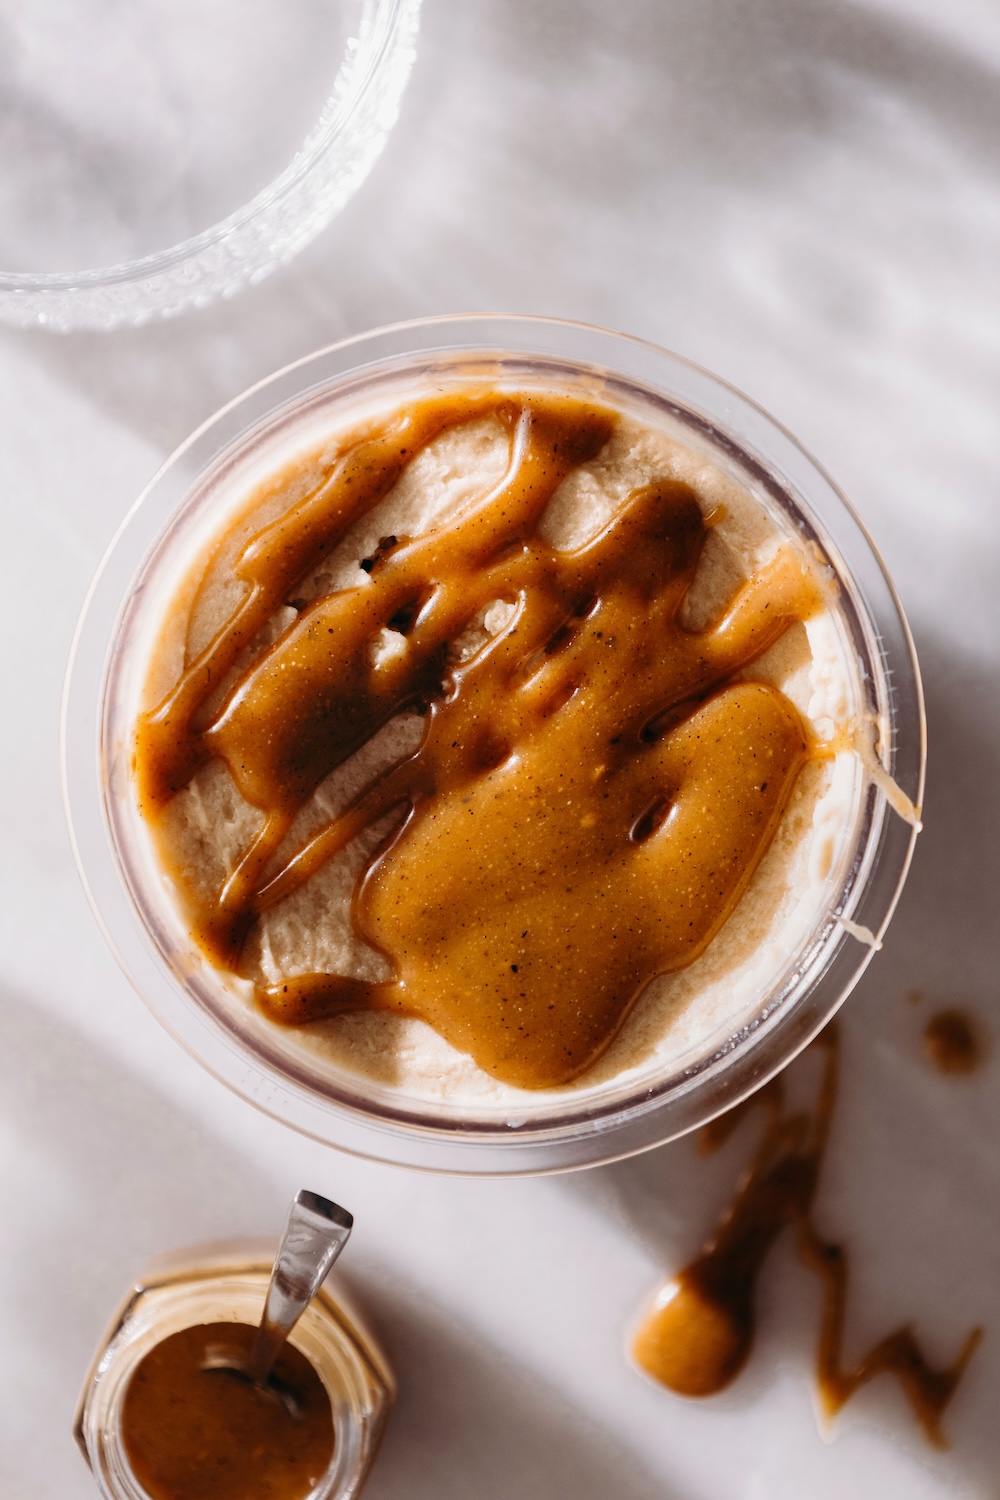
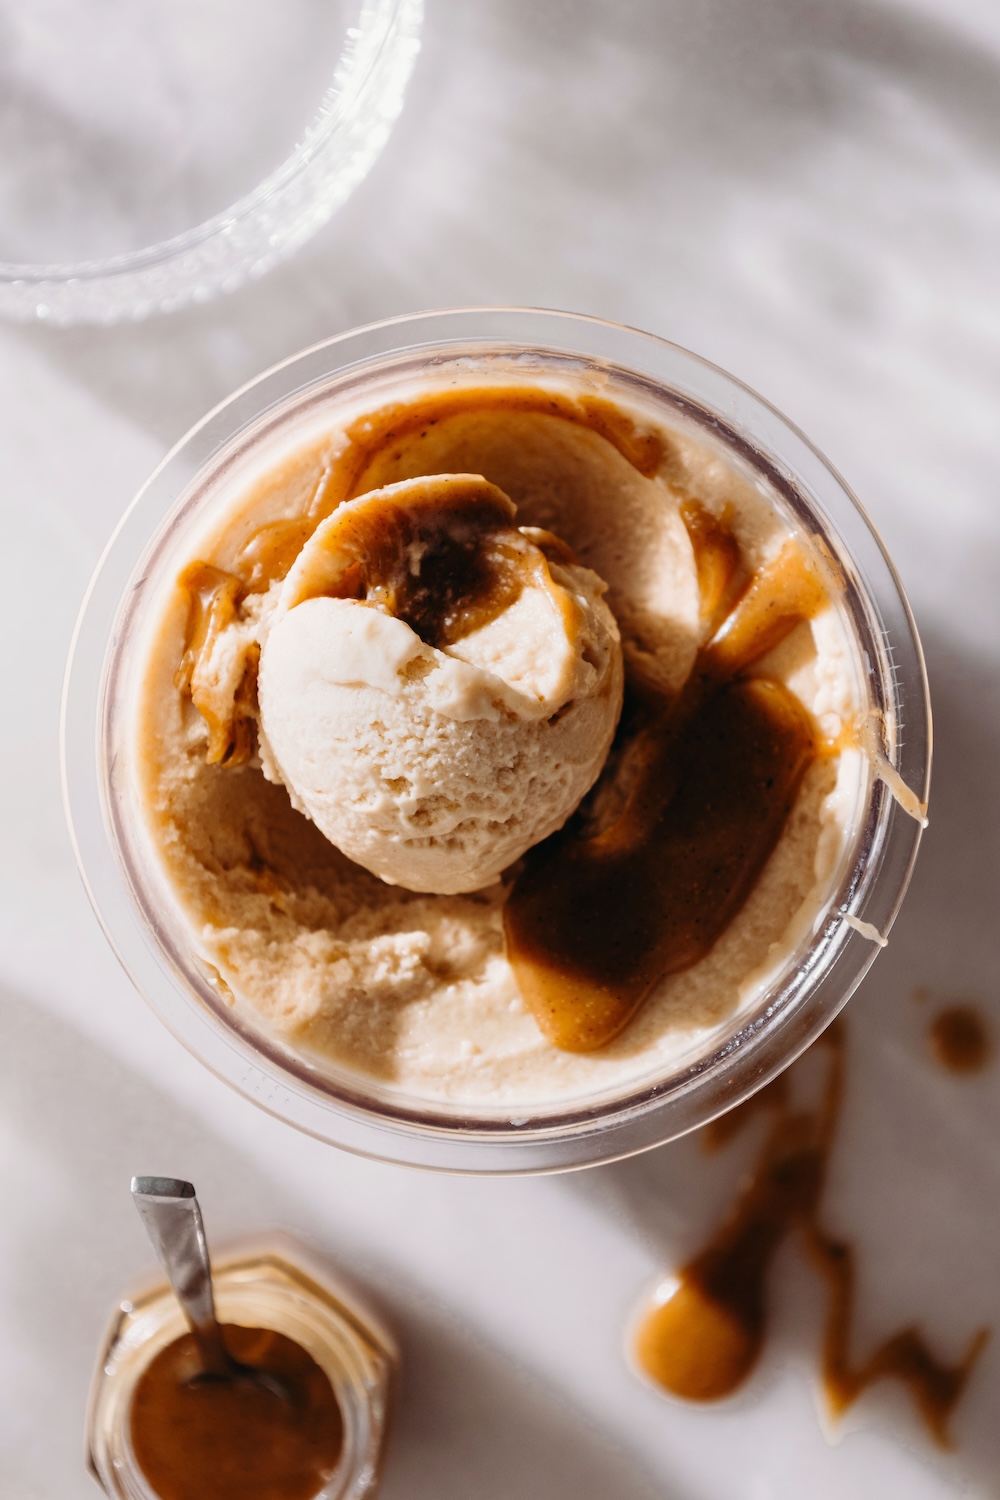
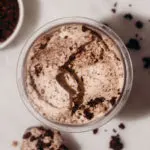
- Step 4: Drizzle with caramel sauce, scoop, and serve. Or, let’s be honest, grab a spoon and finish that whole pint.
Tips For Perfecting The Creami Texture
If you are new to making Ninja Creamis, it does take a little bit of time to perfect the technique and texture. So after a few years and hundreds of Creamis, I do have a few tips to share.
For starters, don’t try to make it dairy-free AND low-fat. It’s not going to work. If you are using a dairy-based shake or milk or pudding mix, you might be able to get away with lower fat content. But if you are using unprocessed ingredients and non-milk proteins, you will need the higher fat content of coconut milk or full-fat coconut yogurt.
Another step that I always do is softening or briefly microwaving (15-20 seconds) the frozen ice cream pint before processing in the Ninja Creami. I actually started doing this because my machine kept getting stuck because the ice cream was too frozen (and digging out the blade by hand is a VERY cold and not fun exercise). But I do think it jump starts the creamy-making process too and might just save you a re-spin cycle.

How To Make The Easy No-Cook Caramel Sauce
This sauce is the easiest and most decadent thing, I don’t know how I existed before it was in my life. I make it all the time to use as a topping or ingredient in recipes like THIS. I will slightly tweak the ratios depending on what I am using it for, or switch up the nut/seed butter I use for subtle flavor variations. But the essential ingredients are: nut/seed butter, coconut oil, sweetener, vanilla, and salt. The nut or seed butter can be any creamy kind you like, my favorites are tahini, SunButter, almond butter, and peanut butter. And the sweetener can be any liquid sweetener you like, honey, agave, and maple syrup all work perfectly. Once you get the ratios right, all you have to do is whisk and you will have the perfect sticky sweet drizzle-perfect caramel that will become your new favorite sweet sauce!
Personally I think caramel sauce is all this delicious salted caramel ice cream needs on top, but you could absolutely add other mix-ins too. Granola, chocolate chips, white chocolate chips, sprinkles, cookies, pretzels, fresh fruit—all delicious ideas.

How To Make This Recipe WITHOUT a Ninja Creami
In case you haven’t invested in a two hundred dollar machine that only makes ice cream (understandable!), I wanted to include a method to make this ice cream without the Ninja Creami too. It’s not nearly as effortless, but it does work and is just as delicious.
Start by blending the ice cream base just the same as you would for the Ninja Creami, but then freeze the mixture in an ice cube tray instead of the pint container for the same 8-ish hours. Once they are frozen, pop out the cubes into a food processor, add a splash more milk, and process until you have a creamy soft-serve consistency. You will need to stop and scrape down the sides a few times, it takes some encouragement. I recommend doing this right before serving, if you try to freeze after processing it will become pretty hard and not-creamy again unfortunately.

More Dairy-Free Ninja Creami Recipes For Summer
- Cookies and Cream Ninja Creami Protein Ice Cream
- Cake Batter Ninja Creami Protein Ice Cream
- Blueberry Ninja Creami Protein Ice Cream
- Pistachio Ninja Creami Protein Ice Cream
Salted Caramel Ninja Creami (dairy-free)
- Prep Time: 5 minutes
- Chilling Time: 8 hours
- Total Time: 8 hours 5 minutes
- Yield: 1 serving 1x
- Category: ice cream
- Method: frozen
- Cuisine: american
- Diet: Vegan
Description
A delicious dairy-free treat—this homemade high-protein salted caramel Ninja Creami recipe is a healthier alternative to traditional ice cream made with simple ingredients like almond milk, coconut milk, medjool dates, and vanilla protein powder. Topped with the easiest no-cook caramel sauce, it’s ultra decadent but designed for you to eat the whole pint!
Ingredients
- 1 cup (240ml) almond milk
- 3/4 cup (180ml) canned coconut milk
- 1 scoop (30g) vanilla protein powder (or plant based)
- 2–3 pitted medjool dates
- 1 tsp vanilla extract
- 1/4 tsp salt
Caramel sauce
- 1 tbsp (16g) nut/seed butter (I really like almond butter, tahini, or SunButter)
- 2 tbsp (40g) maple syrup
- 1 tbsp coconut oil
- 1/2 tsp vanilla extract
- 1/4 tsp salt
Instructions
- Blend all the ice cream ingredients until smooth with no date chunks remaining.
- Pour into a Ninja Creami pint container, and freeze overnight (or at least 8 hours).
- Blend on the “lite ice cream” setting. Add a splash of milk. Blend on “re-spin” 1-2 times to desired consistency.
- Whisk together all the ingredients for the caramel sauce until smooth and drizzle-able.
- Drizzle the sauce on top, add toppings if desired, and enjoy.
Keywords: dairy free, healthy, protein, high protein, snack, medjool dates, coconut milk, almond milk, vanilla, ice cream
CLICK BELOW TO PIN


Leave a Reply